Home Decor DIY Projects Using Hangers
There’s something deeply satisfying about transforming simple household items into beautiful decor pieces that not only beautify your home but also reflect your personal style. DIY home decor has grown from a weekend hobby to a creative movement that inspires homeowners to reimagine their living spaces without spending a fortune. With the rising cost of home makeovers, many people are turning to do-it-yourself solutions to achieve high-end results on a budget. And while wood, mason jars, and reclaimed pallets usually steal the spotlight in DIY projects, hangers are quietly proving to be one of the most versatile and underused tools in home transformation.
Whether you live in a small apartment or a spacious house, home decoration should never feel like a financial burden. With rising searches for budget home upgrades and cheap interior design ideas, the demand for affordable creativity is higher than ever. This is where hangers—yes, the same ones that keep your clothes wrinkle-free—step in as a surprising hero in the DIY home decor world.
Reworking hangers into functional and aesthetic elements brings charm and character into your space. Whether you’re looking for minimalist decor or aiming for a rustic finish, hangers can be reimagined in ways that align with various interior design themes. More than just a closet staple, hangers can become sophisticated wall art, elegant plant holders, or even organizers that declutter and beautify simultaneously. These ideas are particularly relevant for homeowners searching for low-cost remodeling ideas, apartment decorating tips, or home makeover hacks that won’t break the bank.
With the right combination of creativity, tools, and a little patience, you can convert something as ordinary as a hanger into an extraordinary decor piece. This guide will walk you through why hangers are perfect for such projects, what materials you’ll need, and step-by-step instructions for three innovative DIY decor ideas. If you’re someone who searches for “easy DIY home decor,” “affordable living room updates,” or “home improvement on a budget,” this article will offer practical inspiration that’s not only visually appealing but also optimized for high-value results.
Why Use Hangers for DIY Home Decor?
Most people associate hangers strictly with clothes. They come in plastic, wire, or wooden form and often sit quietly in our closets, unnoticed until laundry day. But what if we told you that those very hangers could be repurposed into sophisticated home decor? Using hangers in DIY projects isn’t just a quirky trend; it’s a smart and resourceful approach to interior styling that aligns perfectly with today’s rising demand for sustainable living and budget-friendly aesthetics.
The first major reason to use hangers is affordability. With inflation affecting almost every sector—including home furnishing—many homeowners are searching for ways to reduce interior decoration costs. Hangers, especially wire and plastic ones, are readily available in most homes. Even if you need to purchase them, they’re incredibly inexpensive compared to typical decorative items found in furniture or department stores. This makes them an excellent choice for budget-conscious individuals or families looking for economical home decor upgrades.
Secondly, hangers are incredibly adaptable. Their shape, material, and durability make them suitable for a wide range of projects. You can bend wire hangers to form custom shapes, paint wooden hangers for a rustic appeal, or use plastic hangers in minimalist designs. Whether you want to create geometric wall art or an avant-garde photo display, hangers offer flexibility that few other household items can match.
Thirdly, using hangers aligns well with environmentally-conscious practices. As more people move toward eco-friendly living and sustainable design, repurposing household items like hangers helps reduce waste and gives a second life to objects that might otherwise end up in landfills. Searches for terms like “eco-friendly home decor” and “upcycled design ideas” are climbing, and hanger-based projects provide a practical response to those queries.
Functionality is another key reason to embrace hangers in your DIY journey. They’re not just decorative; many projects involving hangers add utility to your home. Imagine a stylish wall-mounted organizer for jewelry, scarves, or accessories—built entirely from hangers. Or consider a modern plant holder that keeps your greenery elevated and visible. These aren’t just pretty projects—they add real value to your daily life.
Lastly, hangers cater to both beginner and advanced DIYers. You don’t need specialized skills or costly tools to get started. Most hanger DIYs are simple enough for teens or first-time decorators, making them ideal family weekend projects or activities for creative expression. If you’re searching for low-investment, high-impact home decor ideas, hangers might just be the best-kept secret you’ve overlooked.
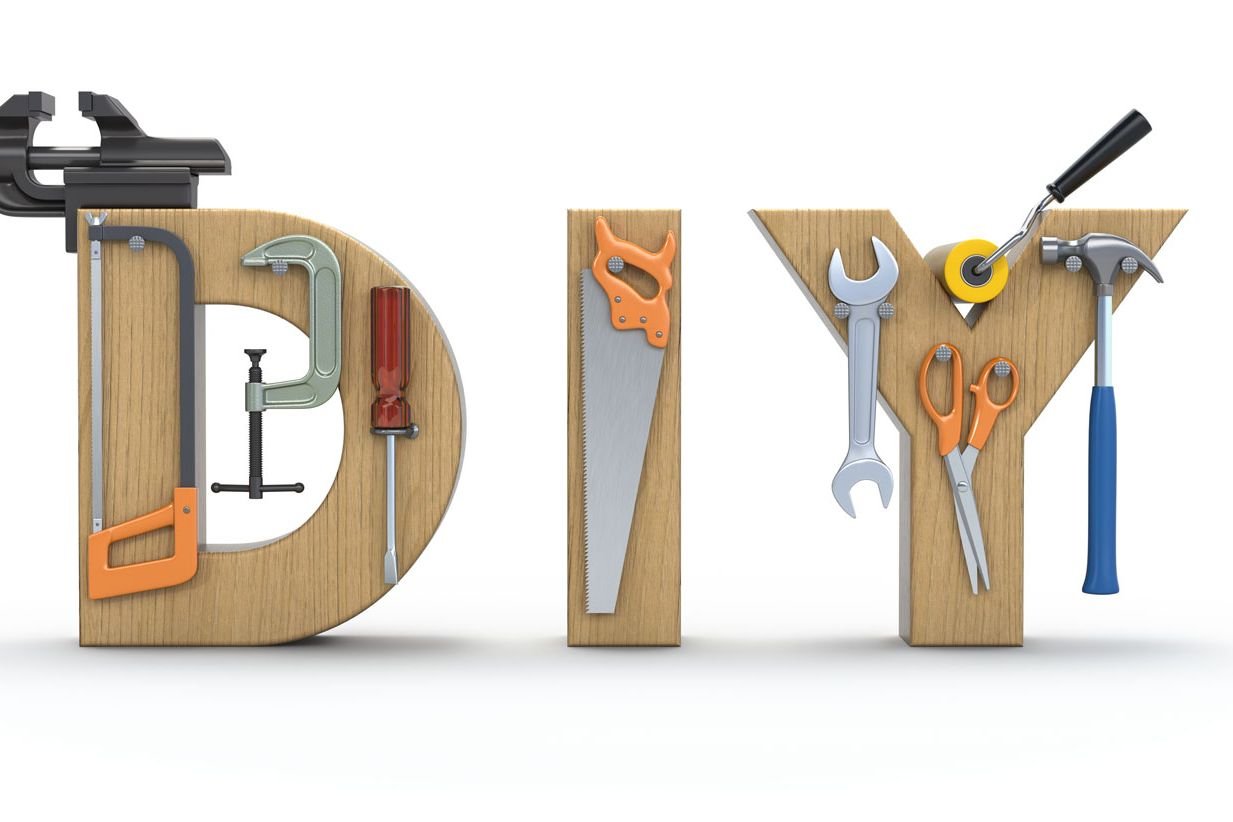
Tools You’ll Need for These Projects
Jumping into DIY home decor using hangers doesn’t require a trip to a specialty hardware store or an expert-level toolkit. One of the biggest advantages of these projects is how accessible and beginner-friendly they are. However, having the right set of tools on hand will ensure you can execute your designs cleanly and efficiently, and the end results look polished and professional.
First and foremost, you’ll need hangers—obviously. But not just any hangers. Depending on your project’s design, you may need different types. Wire hangers are ideal for bending into shapes, frames, or abstract art. Wooden hangers, on the other hand, are perfect for painting, staining, or drilling into, especially if you’re going for a rustic or farmhouse-style finish. Plastic hangers, while less flexible, can still be used in minimalist or modern designs, especially when paired with metallic paints or decorative adhesives.
A pair of pliers is essential for manipulating wire hangers. You’ll need them to bend, twist, and secure your wire designs. Choose a model with a comfortable grip and built-in wire cutters to simplify the process. If you’re working with wooden hangers, a basic electric drill or even a manual screwdriver will be necessary for attaching hooks, screws, or adding mounts.
Glue guns are another must-have. Hot glue is ideal for attaching materials like fabric, rope, or faux greenery onto the hanger surfaces. For projects that require more strength—like hanging planters or wall fixtures—consider using a stronger adhesive like E6000 or a construction-grade adhesive that ensures durability over time.
Sandpaper comes in handy when using wooden hangers. Smoothing out rough edges or prepping the surface for paint or varnish can make a significant difference in the final outcome. A fine-grit sandpaper (like 220 grit) is typically sufficient for most purposes.
If your project involves painting, stock up on spray paint, acrylic paint, or chalk paint, depending on the desired finish. Metallic tones like gold, bronze, and silver are popular for adding a modern or industrial edge to hanger projects, and they tend to attract a lot of attention, which is perfect for visual impact and, ultimately, higher content engagement.
Other useful materials include twine, jute rope, string lights, decorative beads, artificial plants, or even small picture frames—depending on your project concept. Having a small craft mat or tarp is also helpful to keep your workspace clean.
By investing just a little time in gathering the right tools, you can turn basic hangers into show-stopping decor pieces that rival expensive store-bought alternatives. With the right preparation, your DIY projects will not only enhance your home but also reflect your creativity and personality.
DIY Hanger Wall Art for a Modern Look
One of the most visually captivating yet budget-friendly home decor projects you can take on is creating wall art using hangers. This project is especially popular among renters and homeowners who want to personalize their walls without committing to permanent fixtures or expensive art pieces. And the best part? You don’t need a degree in fine arts or a massive budget—just a few hangers and some creativity.
Start by choosing wire hangers for their flexibility. Using your pliers, you can reshape them into various forms—hearts, geometric patterns, abstract waves, or even your initials. These shapes can then be layered, spray-painted, or wrapped in yarn or twine for a textured finish. You can create a series of interconnected pieces that spread across a wall, producing a gallery-like atmosphere that instantly elevates your interior.
To give your wall art a more modern aesthetic, consider using monochrome palettes—like all-black wire hangers shaped into triangles or hexagons—then arrange them in a symmetrical or cascading layout. The modern, minimalistic appeal of such designs resonates with interior styles like Scandinavian, industrial, and contemporary decor, all of which are popular in high-traffic online searches.
For those who want more color and warmth, painting wooden hangers in bright or pastel shades and using them as a base for mounting small planters, quote boards, or lightweight picture frames can result in a personalized statement wall. Each hanger becomes a mini-display unit, allowing you to switch out elements seasonally or based on your mood.
Mounting is simple. Adhesive wall hooks, nails, or screws are typically enough to secure the hanger art to the wall, depending on its weight. Ensure you measure and level each piece for a professional finish.
Not only does hanger wall art create a focal point in any room, but it’s also an excellent way to showcase your personality. It sparks conversations, allows for customization, and costs a fraction of what you’d pay for commercial wall decor. If your online audience is searching for terms like “cheap wall art ideas,” “DIY art on a budget,” or “creative ways to decorate a room,” this project delivers real value while keeping your home stylish.
3 Home Decor DIY Projects Using Hangers
Creating DIY projects that feel high-end while using everyday items like hangers is both rewarding and cost-effective. These three standout home decor projects require minimal materials, offer maximum visual impact, and align with trending interior design aesthetics. Perfect for homeowners, renters, and interior design enthusiasts searching for affordable home transformations, these projects are crafted to complement any space—whether you’re staging a home for sale, revamping a dorm, or updating a small apartment.
The first project involves turning a wooden hanger into a modern photo display. Begin by selecting a wooden hanger with a metal hook. Using twine or decorative string, attach several vertical lines of cord from the bottom bar of the hanger. With miniature clothespins or binder clips, secure photos, postcards, or even lightweight artwork to each strand. You can paint the hanger in gold or matte black to match your decor style. Hang this photo display on a wall using a standard hook, and you’ve created a rotating gallery that can be updated anytime. This is ideal for high-traffic areas like hallways or living rooms and appeals to those searching for “personalized home decor” or “DIY memory wall ideas.”
The second project is a minimalist indoor plant hanger. Start with a strong wire hanger and carefully mold it into a circular shape or geometric frame using pliers. Then, secure a small ceramic or lightweight plastic pot in the center using jute rope or leather straps. Ensure the plant pot is balanced, especially if you plan to hang it from the ceiling. Adding a trailing plant like pothos or ivy enhances the visual interest and brings organic beauty into your space. Many users searching for “indoor plant display ideas” or “hanging planters DIY” will find this approach affordable, attractive, and ideal for small-space living.
The third and final project is a functional jewelry organizer made from a wooden or plastic hanger. Use small screw hooks or adhesive hooks along the bottom bar of the hanger to hang necklaces, bracelets, or keychains. Add a strip of lace or mesh to the front surface for storing earrings. If you’re feeling crafty, decorate the hanger with fabric, washi tape, or custom decals to match your bedroom aesthetic. Hang it behind a closet door, above a dresser, or in a walk-in wardrobe. This project not only helps reduce clutter but also enhances organization—an appealing solution for those searching “how to organize jewelry at home” or “closet makeover ideas.”
Each of these hanger projects is scalable, meaning you can replicate them in different rooms or modify the designs to fit your specific needs. These ideas also tap into the growing search trends around “budget home upgrades,” “small space organization,” and “eco-conscious living.”
Common Mistakes to Avoid in DIY Decor
While DIY projects are empowering and cost-effective, they can quickly become frustrating or underwhelming if key mistakes are made. Whether you’re attempting your first project or you’ve already completed a few, being aware of common pitfalls can save time, money, and disappointment. Many people rush into DIYs with high expectations, only to end up with projects that fall short due to poor planning or execution.
One of the most frequent mistakes is underestimating the importance of preparation. It might be tempting to jump straight into crafting, but skipping the prep phase—like cleaning your hanger, sanding it down, or checking weight balance—often leads to poor results. Paint doesn’t adhere well to dust or grime, and adhesives may fail if surfaces aren’t prepped properly. Always start with clean, smooth, and dry materials to ensure a professional finish.
Another common issue is using the wrong type of hanger for a particular design. Not all hangers are created equal. Wire hangers are great for bending and shaping, but they’re not ideal for holding weight. Wooden hangers are sturdy but not flexible. Using the wrong type can compromise safety and durability, especially for hanging decor or items placed near electrical fixtures or children’s areas.
Many DIYers also overlook the significance of measurement and symmetry. If you’re designing wall art or a multi-piece display, uneven spacing can make even the most creative idea look sloppy. Always use a ruler, level, or laser guide when aligning parts, particularly when working with multiple hangers in one display. A well-measured setup not only looks better but adds a layer of refinement that increases the perceived value of your space.
Overloading your project is another trap. While creativity is encouraged, cluttered designs can diminish the clean look of minimalist decor. If you’re hanging photos, plants, or accessories, maintain spacing to allow each element to stand out. Less is often more, especially in modern interior styles that prioritize clean lines and open space. Users searching “minimalist DIY decor” or “simple home upgrades” will appreciate streamlined, elegant outcomes.
Inadequate securing of mounted projects is another risk, especially for renters. Always check the weight limit of wall adhesives or nails and test hanging fixtures before final placement. This prevents damage to your wall and ensures the safety of your decor, pets, or small children. Investing a few minutes in proper installation can prevent accidents and save your home from unnecessary damage repairs.
Lastly, a mistake many make is failing to consider lighting and visibility. A beautifully crafted DIY may go unnoticed if placed in a dim or hidden corner. Always place your decor in a well-lit space where it complements natural or artificial lighting. Spotlights, fairy lights, or LED strips can enhance visual appeal and draw attention to your hanger masterpiece. When positioned correctly, these DIYs not only enhance ambiance but also elevate your interior design, making them more share-worthy and visually appealing for content or real estate photography.
Avoiding these common mistakes doesn’t require professional training—just attention to detail and a bit of patience. With the right approach, your DIY hanger decor can match or even surpass store-bought alternatives in both quality and style. By staying mindful of these potential setbacks, your home decor projects will not only look good but also last longer and function better.